Data & Point Cloud
Point Cloud Processing Tutorials: A dToF Depth-to-Cloud Evaluation Workflow
A compact depth sensor can produce a cloud quickly, but a useful evaluation dataset takes a deliberate chain of capture, spatial cleanup, inspection, and recordkeeping. These point cloud processing tutorials give a robotics, UAV, or embedded-vision team a first-pass workflow for turning dToF depth output into a cloud another engineer can review.
Quick answer: start with a small, controlled cloud
Before semantic labels, registration, or an application pilot, collect short repeatable captures of known objects; preserve the raw depth source; crop only the scene you intend to judge; apply one documented filter at a time; inspect what was removed; and export the result with capture metadata. A cloud that looks clean but cannot be traced back to its capture settings is not yet strong evaluation evidence.
1. Separate sensor-output QA from semantic segmentation
A real user question behind this topic is how to approach semantic segmentation when clouds become large or outdoor conditions change. That is a valid next-stage question, but it is not the first question for a compact depth-sensing evaluation. First establish whether the depth frames, conversion, crop, and retained geometry are plausible for the scene you captured. Only then does it make sense to design labels, choose a model, or compare results across scenes.
Use four distinct records: raw source (the unmodified frame or capture), processing recipe (crop bounds and filter settings), review export (the resulting cloud), and observation note (what the reviewer could and could not see). This prevents a filtered visualization from being mistaken for a ground-truth dataset.
If you are still validating the source image, first visualize dToF depth data during early testing. If a capture appears implausible before conversion, use the team’s existing guide to diagnose LiDAR integration issues instead of hiding the symptom with a stronger filter.
2. Write a capture contract before you press record
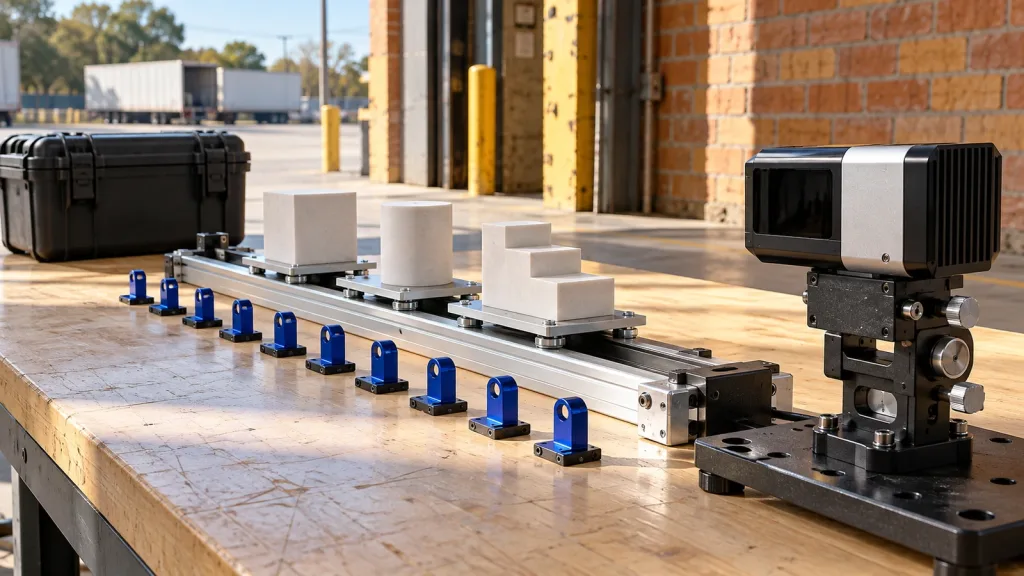
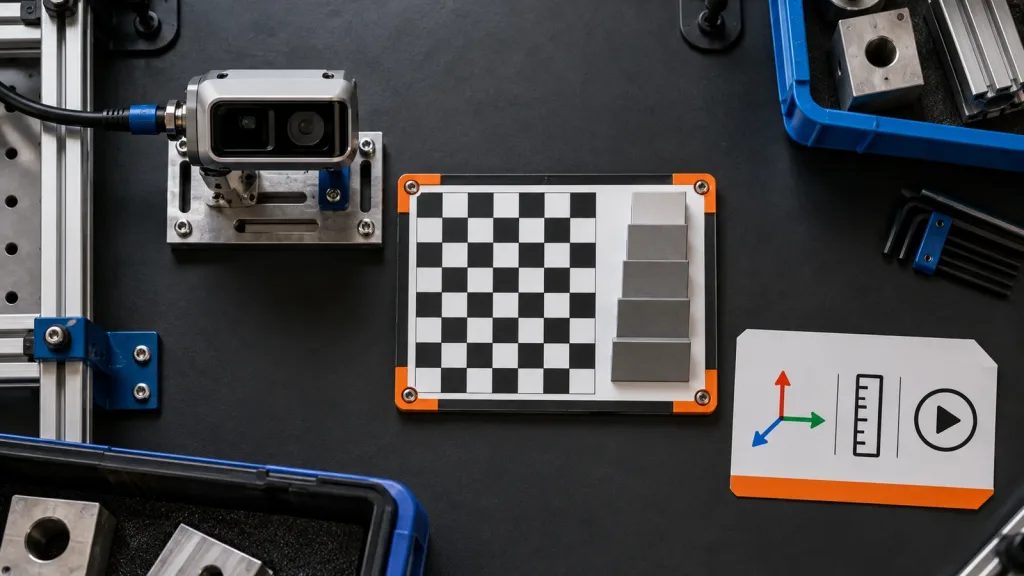
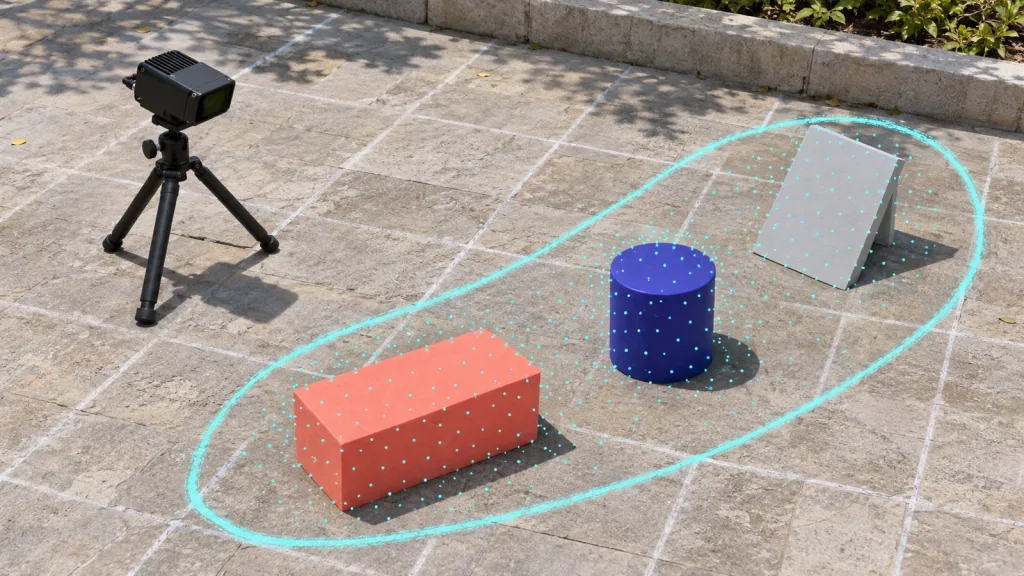
A capture contract is a one-page description of what one cloud is meant to answer. It can be simple: a sensor position, three known scene objects, a nominal working-distance band, the selected interface, the coordinate-frame convention, and a pass/fail observation. The goal is repeatability, not a laboratory claim.
- Scene: use objects with visibly different boundaries and surface orientations; note reflective, dark, moving, or edge conditions rather than pretending they do not exist.
- Mount and pose: photograph or sketch the sensor pose and record the origin and axis directions used downstream.
- Capture identity: assign a run ID, timestamp, interface, depth format, and unmodified source filename.
- Acceptance question: state one reviewable question, such as “Can the operator separate the three objects after a documented crop?”
Do not use a friendly visualization alone as acceptance evidence. Review the raw frame and the exported cloud together, then retain the filter settings that relate them.
3. Use this decision chart before applying a filter
| What you see | First action | What to record | Do not conclude yet |
|---|---|---|---|
| Unwanted wall, floor, or background | Apply a spatial crop that matches the evaluation scene. | Bounds, frame convention, and before/after point count. | That the sensor cannot see the excluded area. |
| Unevenly dense cloud that is slow to review | Test voxel downsampling on a copy. | Voxel size, input/output count, and whether boundaries remain interpretable. | That one voxel size is universally correct. |
| Isolated sparse points | Inspect raw source, then test a neighbourhood-based outlier filter on a copy. | Neighbour and threshold settings plus a view of removed points. | That every removed point was an error. |
| Object boundary appears displaced | Check depth source, mounting, crop frame, and any coordinate transform. | Transform version and the original capture. | That filtering can correct a geometry or timing issue. |
| Need categories such as floor, obstacle, or vegetation | Define label rules and a held-out review set after source QA is stable. | Class definitions, annotator guidance, and scene split. | That a clean-looking cloud is a validated segmentation model. |
The Point Cloud Library VoxelGrid tutorial describes a voxelized grid that approximates points in each occupied voxel with a centroid. That is why the voxel size belongs in your recipe: it changes the representation you are reviewing. Treat the tutorial’s numeric example as an example, not a setting to copy into a different sensor, scene, or task.
4. Run a traceable depth-to-cloud workflow
Step A — preserve the raw source and inspect it first
Store the source frame or stream capture before conversion. Confirm that the capture ID, scene, interface, and time are attached to it. Inspect a small number of frames from the same setup rather than selecting only the most attractive image. This gives later reviewers a way to distinguish a scene change from a processing change.
Step B — convert and label the coordinate frame
Convert depth values to the representation supported by your host-side workflow, then label the axes and units in the export notes. If you combine frames or place the sensor on a vehicle, record the transform source and version. A point cloud without a stated frame is hard to compare with a fixture, CAD model, or another sensor.
Step C — crop to the question you are evaluating
Crop only what is outside the question. For example, a near-field object-separation check may exclude ceiling, floor, or a distant wall—but it should keep a record of the crop bounds and preserve an uncropped copy. The Open3D point-cloud tutorial documents visualization, crop operations, voxel downsampling, and normal estimation; use the operations as inspectable steps rather than an opaque “cleanup” button.
Step D — downsample only when the review question permits it
Make an untouched working copy. Test one or more voxel sizes and compare the original and output at the object boundary that matters. The decision is not “more points versus fewer points”; it is whether the output still supports the review question at a manageable density. Save the input and output point counts beside the chosen value.
Step E — test outlier removal as an auditable hypothesis
Statistical outlier removal can be useful when isolated points interfere with local analysis, but it is not proof that the removed points were wrong. The PCL statistical outlier-removal tutorial explains that sparse outliers can affect local characteristics and registration, and that the method uses neighbour-distance statistics. Export the removed set as well as the retained set, then review whether the filter disproportionately removes edges or valid small objects.
Step F — inspect, export, and make the next decision explicit
Review the cloud from more than one angle, compare it with the capture photo, and write one short observation. Examples: “three fixture objects remain separable after the documented crop” or “the narrow target is not consistently visible; retain this run as a limitation.” Then export the cloud and recipe together. If the next task is segmentation, begin label rules only after this QA record is stable.
5. Use the documented MRP-LD1 output carefully
The MRP-LD1 Drone LiDAR Sensor is a Featured product documented to provide depth images and 3D point-cloud data for host-side evaluation. The following table reproduces only the supplied product parameters relevant to planning a first capture; it does not guarantee performance in a particular scene.
| Documented parameter | Value | How it affects this tutorial |
|---|---|---|
| Depth / point-cloud output | Real-time depth images and 3D point-cloud data | Keep the original depth source associated with every cloud export. |
| Resolution and frame rate | 40 × 30; 10 fps | Plan a small, reviewable capture rather than assuming a dense mapping dataset. |
| Interfaces | UART, UVC, UDP | Record the interface and host capture format in the run ID. |
| Software support | Windows, ARM, Linux, Android | Keep the host platform and conversion-tool version with the recipe. |
| Documented ranging baselines | 0.5–25 m indoor; 0.2–8 m outdoor | Record target distance and verify the intended scene rather than treating a range baseline as a deployment guarantee. |
| Field of view | 60° horizontal × 45° vertical | Use it to design the fixture placement and note what the crop intentionally excludes. |
| Weight and power | 8 g; 1.2 W | Useful evaluation context for a weight- and power-sensitive host; it does not replace system-level integration validation. |
For the broader setup around these facts, see the existing compact dToF LiDAR evaluation workflow. Actual usable results depend on the target, ambient light, angle, mounting, and motion, so validate the intended scene.
6. Keep interfaces, data, and integration boundaries explicit
Choose the capture path before designing the processing notebook. The sensor’s documented interfaces are UART, UVC, and UDP; the host, record format, and parser determine what reaches the point-cloud workflow. Use the guide to choose UART, UVC, or UDP for the capture path, then write the selected interface in the capture contract.
For each trial, retain the interface setting, host operating system, parser or tool version, coordinate-frame note, source filename, crop bounds, filter parameters, and exported filename. This separation matters: the sensor supplies depth and point-cloud output, while the host processor, conversion logic, perception software, planning, and application response remain parts of the complete system to be validated.
Realistic application case: a mobile-inspection proof of concept
Consider a team evaluating a compact sensor on a slow mobile inspection platform. Their first decision is not whether a semantic model can identify every asset in a facility. It is whether the sensor-to-host path can produce a stable, reviewable cloud of three fixed evaluation objects at the intended observation distance. They mount the module, capture repeatable short runs, retain raw depth output, crop to the known test zone, compare two voxel settings, and save the removed outliers separately. The review note may say that two wide objects remain distinct while the narrow object needs a different fixture or scene test. That evidence is enough to choose the next experiment without claiming deployment readiness.
7. Common mistakes in first-pass cloud processing
- Starting with a model: do not begin labels or training before confirming the source, frame, and crop are reviewable.
- Over-cleaning: a cloud can look attractive after filtering while valid thin edges or small objects have been removed.
- Changing several variables at once: change crop, voxel size, or outlier settings one at a time so the result remains explainable.
- Missing coordinate metadata: unlabeled axes and undocumented transforms make comparison and registration unreliable.
- Confusing a range baseline with a guarantee: document the actual target, light, angle, mount, and motion for the evaluated scene.
- Discarding the rejected output: preserve removed points and failed captures; they make the next test more informative.
8. RFQ and evaluation checklist
Before requesting documents, an evaluation sample, or a project-specific quote, prepare the information that connects the product facts to your cloud-processing task:
- Target platform and application, plus whether it is a robot, UAV, or fixed test fixture
- Indoor or outdoor scene, target-distance band, target materials, and expected motion
- Host system, preferred interface, and the raw data you need to retain
- Desired evaluation output: depth frame, point cloud, crop/export format, and review criteria
- Mounting constraints, sample quantity, and expected project timing
- Questions about product documents, SDK resources, sample data, or an evaluation sample
Build an evaluation record your next reviewer can trust
Use a compact, controlled test scene first. If you are evaluating a depth-to-cloud workflow with the MRP-LD1, share your target platform, working distance, scene, host, preferred interface, sample quantity, and project timing so Purpleriver can point you to the relevant product documents, SDK resources, sample data, evaluation sample, or project-specific quote.