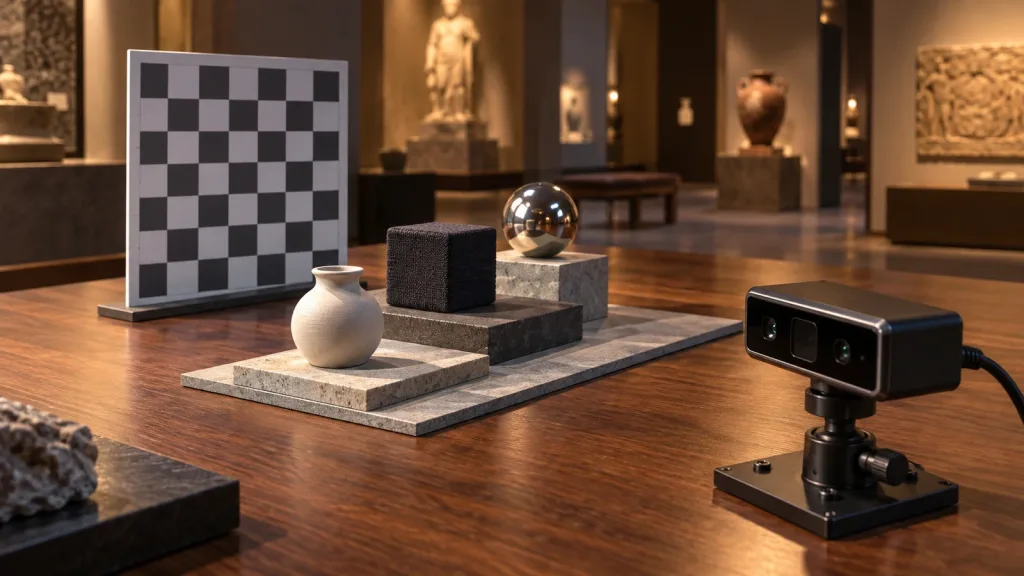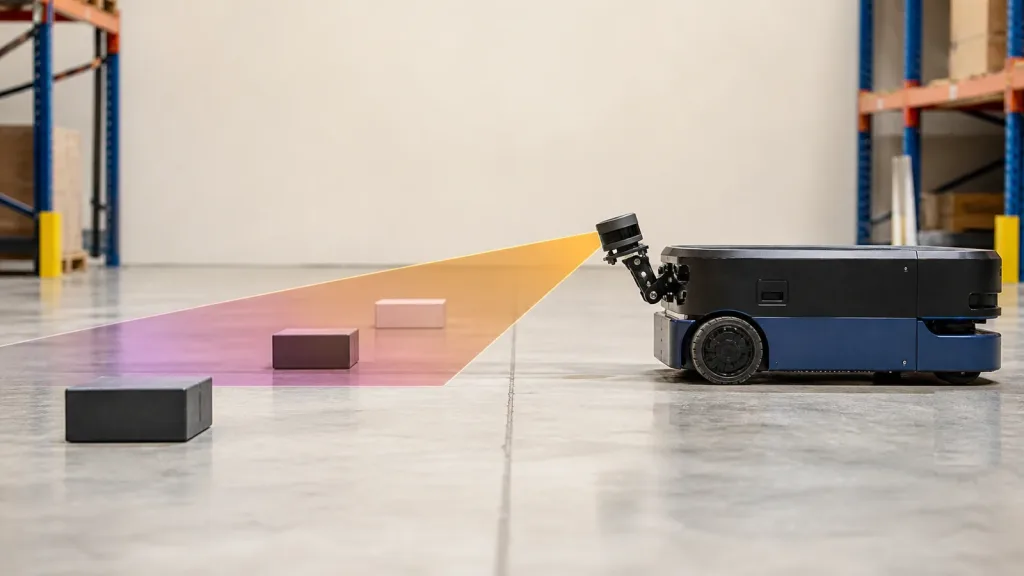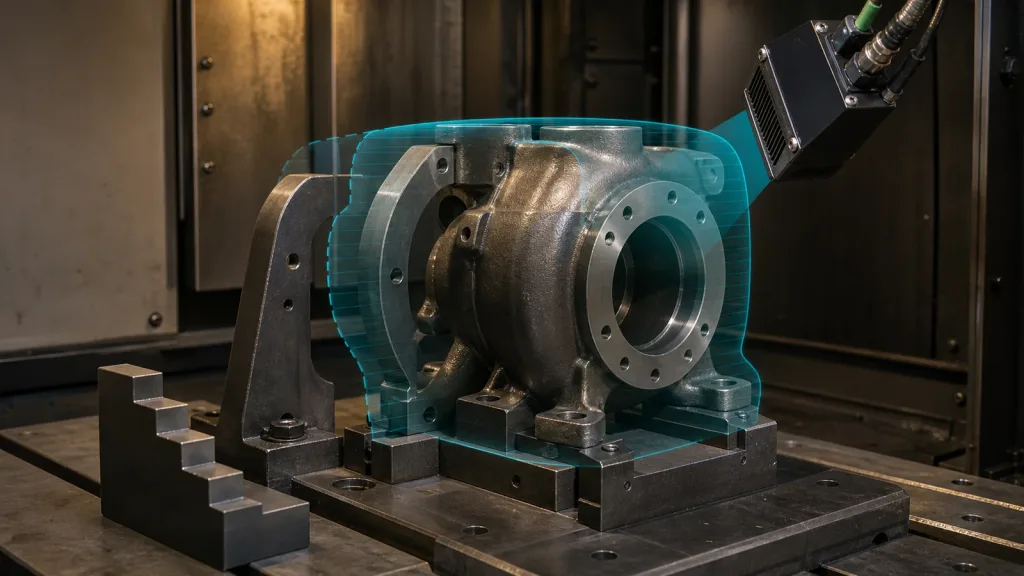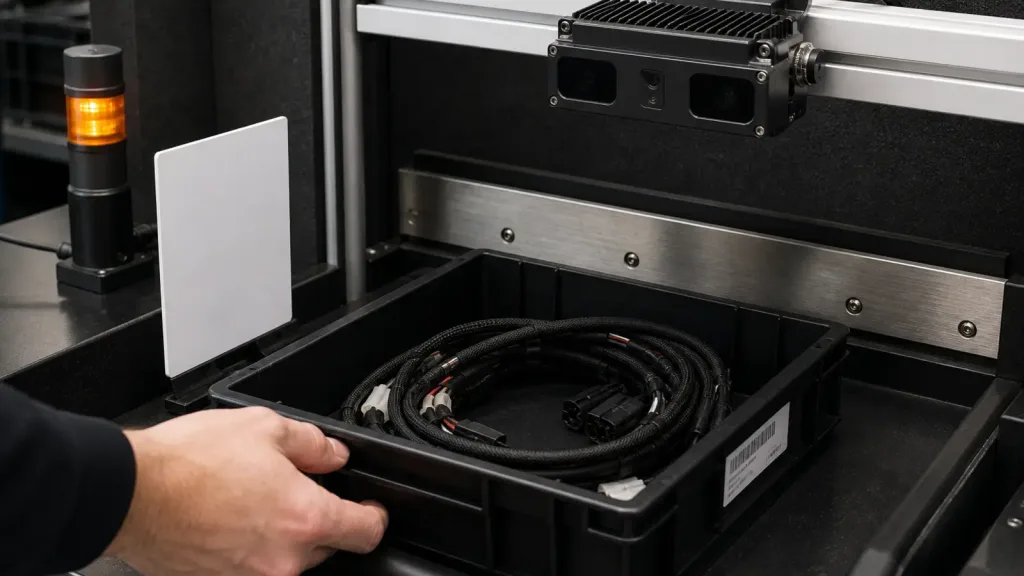

Cover depth perception and point cloud use cases for mobile robots and embedded vision systems.
Why this topic matters
Robotics Mapping LiDAR for AMR and Service Robot Navigation is part of the LiDAR Applications knowledge base for drone, robotics and embedded 3D perception teams. The goal is to help engineers connect sensor specifications with real integration decisions instead of treating LiDAR as a generic hardware component.
What to evaluate first
- Ranging requirement in indoor, outdoor and high-ambient-light environments.
- Field of view, resolution and frame rate needed by the perception workflow.
- Weight, power consumption and interface compatibility with the target platform.
- Depth map, point cloud and SDK requirements for early validation.
How the MRP-LD1 module fits
Purpleriver MRP-LD1 is a compact solid-state dToF LiDAR module based on SPAD technology. It supports 40×30 depth output, 60°×45° FOV, 10fps frame rate, UART/UVC/UDP interfaces, 8g weight and 1.2W power consumption. These characteristics make it suitable for UAV obstacle avoidance, robot navigation, industrial inspection and embedded sensing evaluation.
Recommended next step
Review the MRP-LD1 product specifications, compare sample data from the LiDAR dataset resources, or contact the product team with your platform and application requirements.
Define the evaluation task
For Robotics Mapping LiDAR for AMR and Service Robot Navigation, the practical goal is to use compact LiDAR data as one input to a robotics mapping and navigation stack. Start by writing the operating scene, target, distance window, light conditions, mounting direction, vehicle or machine motion, host platform and required output. A useful evaluation answers a decision; it does not simply produce an attractive demo.
The main planning risk is treating a depth module as a complete SLAM, localization or motion-control system. Prevent that by assigning an owner to each measurement, storing the source data and defining what result would cause the team to accept, revise or reject the current design.
Use verified MRP-LD1 facts as test inputs
MRP-LD1 is a compact solid-state SPAD dToF module using a 940nm VCSEL. The listed hardware facts are 8g weight, 1.2W typical power, 60° horizontal by 45° vertical field of view, 40×30 depth output at 10fps and UART, UVC or UDP interfaces. Software support is listed for Windows, ARM, Linux and Android.
Keep the ranging conditions separate: the listed indoor range is 0.5–25m, while the listed outdoor range is 0.2–8m with up to 80Klux ambient-light resistance. Those values are evaluation baselines, not a guarantee for every target, angle, lighting condition or moving platform. A 40×30 output should be described by its actual dimensions rather than marketed as high resolution.
Build a decision table before testing
| Question | Evidence to capture | Decision use |
|---|---|---|
| Does the scene fit the range and FOV? | Representative targets at planned distances, directions and light levels | Mounting and sensor-layout decision |
| Can the host receive stable data? | Interface configuration, timestamps, dropped frames and replay files | UART, UVC or UDP path selection |
| Does timing fit the system? | Sensor, host, algorithm and control latency measured separately | Speed, stop margin and update-rate decision |
| Are failure states understood? | Invalid points, timeout behavior, occlusion and degraded-scene logs | Fallback and test-envelope decision |
Move from bench evidence to a pilot
- Bench baseline: verify power, interface, frame reception, units and coordinate meaning with a known target.
- Representative scene: test the actual target materials, distances, light levels and background conditions.
- Mounted test: include enclosure effects, vibration, occlusion, alignment and host-compute load.
- Failure replay: preserve difficult sequences so algorithm and control teams can reproduce them.
- Pilot decision: approve the next stage only when the evidence supports verified frames, mounting, host timing and route-level replay evidence.
State the system boundary
A LiDAR module provides sensing data. It does not independently perform SLAM, autonomous navigation, obstacle avoidance, pass/fail inspection or flight control. Those outcomes depend on mounting, calibration, host processing, algorithms, timing, control logic and the operating environment. Keep component facts separate from system claims in the test report and purchase decision.
Questions before a sample request
What should the request include?
Include the platform, scene, target-distance window, indoor or outdoor operation, expected light conditions, host, preferred interface, software environment, sample quantity and project stage.
What should be recorded during evaluation?
Record raw or minimally processed output, timestamps, configuration, mounting geometry, target description, lighting, motion and every change made between runs. Screenshots without context are not enough for an engineering decision.
What is the intended decision?
State whether the test selects an interface, confirms coverage, qualifies a scene, supports a prototype or prepares an RFQ. Different decisions require different evidence.
Continue with the approved evaluation path for this topic, or review the MRP-LD1 drone LiDAR sensor specifications before requesting hardware.