Factory evaluation guide
An industrial LiDAR factory visit is most useful when it produces evidence you can repeat, not a polished one-off demonstration. For a compact 3D inspection module, ask the factory to run a short witnessed sequence with declared conditions, captured outputs, one controlled retest, and a clear handoff boundary. That gives a manufacturing engineer a basis for a pilot decision without confusing a module demonstration with proof of a finished inspection cell.
Quick answer
Request a 30-minute witness test built around one identified sample, a fixed target and distance setup, saved depth or point-cloud outputs, a deliberately changed condition, and a repeat of the original condition. Record the module revision, host interface, target description, ambient conditions, timestamps, and any missing or invalid samples. Treat the result as evidence for the next pilot step—not as a blanket accuracy, production-capacity, or system-safety claim.
Why an industrial LiDAR factory witness test is different from a demo
A product demo answers, “Can the supplier show something working?” A witness test asks a narrower and more useful question: “Can we observe the same module under named conditions, save the evidence, change one condition, and understand what changed?” That distinction matters when the next step is a compact 3D inspection pilot rather than a buying decision based on a video.
Start with an identified sample. Put the module serial number or internal sample label, hardware revision, firmware revision when available, host computer, interface mode, and test operator on one record. If any item is unavailable, record it as unavailable rather than filling the gap with an assumption. This is consistent with the discipline behind NIST guidance for stating measurement results and uncertainty and the BIPM/JCGM uncertainty guide: a reported observation needs its conditions and limits to be interpreted responsibly.
For preparation, review the site’s quality-inspection notes for solid-state LiDAR modules and its compact dToF LiDAR evaluation workflow. Use them to make the visit specific; do not use either as a substitute for witnessed output from the actual sample.
Turn each observed item into a pilot decision
| Witnessed evidence | Decision it informs | What to reject as incomplete |
|---|---|---|
| Named module, revision, interface mode, and host | Whether the test can be repeated on the requested configuration | A generic sample with no traceable identity |
| Target description, placement method, and environmental notes | Whether the observation applies to the intended pilot scene | “Normal conditions” with no target or distance record |
| Saved raw or native output plus a readable visualization | Whether the integration team can inspect the same evidence | A screen photo with no retrievable output |
| One intentional condition change followed by a retest | Whether behaviour can be compared rather than narrated | A second demo that changes several variables at once |
| Documented interface handoff | Whether the pilot host can receive and interpret data | A claim that an interface is supported without a witnessed data path |
This chart is deliberately not an acceptance specification. Your inspection feature, target materials, standoff distances, latency budget, and safety architecture must be defined by the pilot owner. The factory demonstration should make the unknowns visible before those requirements are signed off.
A five-block witness test an industrial LiDAR factory can run
1. Freeze the sample and the scene
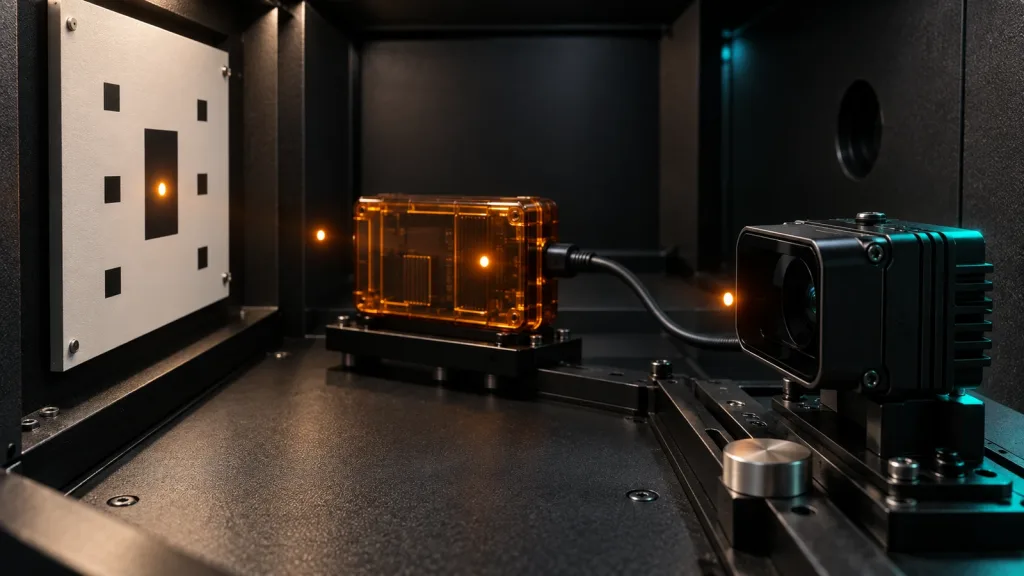
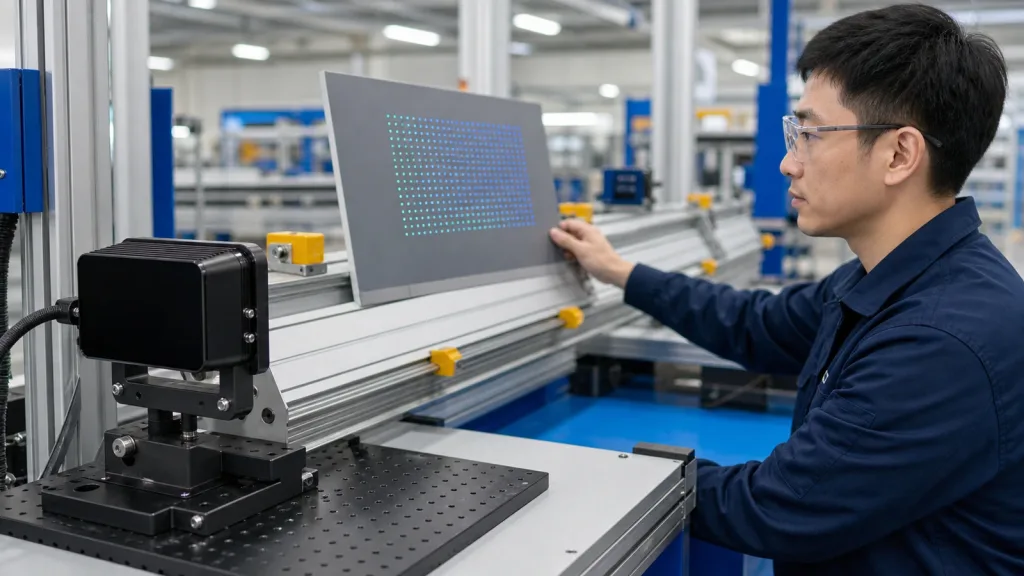
Place the module in a stable fixture. Ask the operator to show the target, its orientation, how its location is controlled, and the host that receives the data. A practical inspection case might use a flat reference panel and a simple stepped object on the same bench. The goal is not to simulate every factory condition; it is to preserve enough context for the buyer to repeat the comparison later.
2. Capture a baseline record
Save a short baseline sequence and at least one native output file or packet capture that the buyer can retain. Pair it with a visualization only when the visualization identifies the saved sample. The record should state whether it contains depth, point-cloud, confidence, or another output form; do not relabel data you have not parsed.
3. Change one condition on purpose
Move the target to a marked position, change its angle, or swap one clearly described target surface. Change only one item at a time. The point is not to force a pass or fail; it is to reveal whether the factory can describe the change, retain the before/after evidence, and return to the initial condition.
4. Return to the baseline
Run the original condition again. This small retest is often more useful than adding extra scenes because it exposes whether the setup and output capture are controlled. If the second baseline differs, capture that fact and agree on the next diagnostic step. Do not turn an unexplained difference into a performance claim.
5. Witness the host handoff
Finally, connect the evidence to the pilot boundary. For a flight controller or companion computer, the relevant question is what reaches the host, in what form, with what identifiers and limits—not whether a factory screen looks persuasive. The official MAVLink DISTANCE_SENSOR specification is a useful example of inspectable range, minimum and maximum distance, orientation, covariance, and timing-related fields. It is a reference for an interface review, not evidence that any module or aircraft is certified.
Example module facts to place on the witness-test record
If the test uses the MRP-LD1 Drone LiDAR Sensor product page as the requested configuration, place the listed facts below beside the observed test conditions. They describe the supplied product information; they do not predict pilot results or establish an inspection capability.
| Listed parameter | MRP-LD1 product information | Witness-test use |
|---|---|---|
| Ranging principle / scanning principle | dToF / SPAD | Identify the configuration being demonstrated |
| Wavelength | 940 nm VCSEL | Place on the test record; do not infer eye-safety or application performance beyond the supplied listing |
| Output and frame rate | 40 × 30 output; 10 fps | Check what the host actually receives and saves |
| Field of view | 60° horizontal × 45° vertical | Plan target placement and note the installed orientation |
| Listed range | 0.5–25 m indoor; 0.2–8 m outdoor | Choose a relevant test position, then record actual conditions rather than extrapolating |
| Interfaces | UART, UVC, UDP | Witness one agreed data path end to end |
| Power and mass | 5 V; 1.2 W; 8 g | Use as integration inputs for the pilot design review |
A realistic inspection-pilot case: checking a tote’s occupied depth zone
Imagine a team deciding whether a compact depth module can support a simple presence or height check above a tote transfer point. The factory witness test does not need to imitate an entire conveyor. It can show a fixed module, an empty tote reference, a representative occupied tote, and one controlled change in placement or object height. The buyer retains the outputs, notes the fixture geometry, and asks the integration team to compare those artifacts with the pilot’s own zone definition.
That is a useful handoff because it avoids two expensive shortcuts: declaring success from a showroom visualization, or rejecting a candidate because a single undocumented scene was not representative. If the pilot needs a different data path, use the site’s UART, UVC, or UDP interface guide to scope the discussion before requesting another demonstration.
Interface and data-handoff questions to ask before leaving the factory
- Which interface was used for this exact capture: UART, UVC, or UDP?
- What file, packet capture, or documented output can the buyer take away?
- Which fields identify invalid, missing, or low-confidence data, if the chosen output exposes them?
- What time reference and host-side logging method were used during the demonstration?
- What must be reproduced by the buyer’s own embedded host during the pilot?
Do not ask the supplier to promise that a single protocol demonstration solves the complete integration. Instead, agree on the smallest reproducible handoff: one module, one host, one output form, one captured sequence, and the information needed to parse it.
Common mistakes that make factory evidence hard to use
- Changing the module and the scene together. You cannot explain a difference when the revision, interface, target, and distance all change.
- Accepting a visualization without the underlying capture. A screenshot can help a conversation, but it rarely lets the pilot team repeat the observation.
- Turning a listed parameter into a guaranteed system outcome. A field of view, frame rate, or listed range is an input to design and testing—not proof of coverage, accuracy, or safety in an untested cell.
- Leaving with no baseline retest. The return-to-baseline step is the simplest check that the setup is controlled.
- Confusing a module witness test with a factory audit. This plan evaluates evidence around one demonstration. Supplier qualification, quality systems, and contractual acceptance need their own scope.
RFQ and pilot checklist
| Before the visit | During the witness test | After the visit |
|---|---|---|
| Define the inspection question, target examples, and data owner | Record sample identity, conditions, interface, outputs, and one controlled retest | Store the evidence, list unresolved variables, and define the pilot test protocol |
| Request the intended module configuration and a proposed data path | Ask for raw or native output paired with the visualized result | Have the integration owner confirm parsing, power, mounting, and host requirements |
| State what the witness test cannot prove | Mark unavailable information as unavailable | Decide whether an on-site pilot is justified; do not allocate the decision to a marketing demo |
Move from a demo to a documented evaluation
Bring your target geometry, host constraints, and desired output format to the discussion. Purpleriver can help you scope a module-level evaluation around documented product information and your pilot questions.